
How I turned a vintage plastic file box …
into a DIY SASS microphone housing for plug-in-power (PIP) microphones.
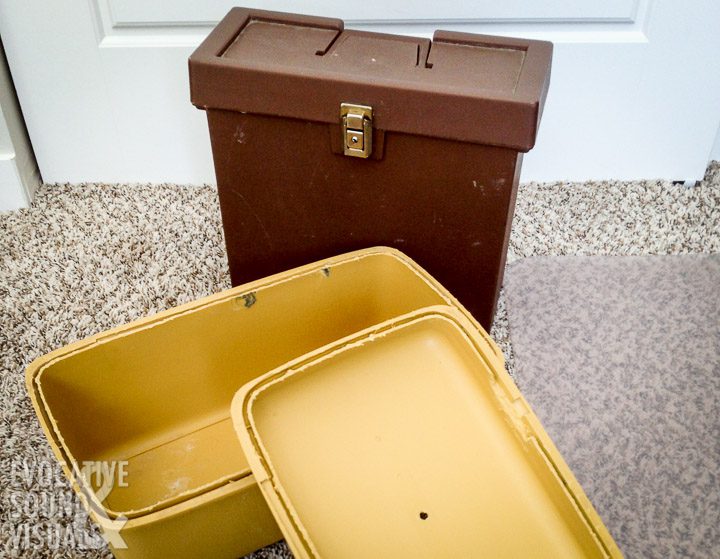
Why have one DIY SASS microphone rig when you can have two? I came across a vintage brown plastic file box recently while scrounging local thrift shops for flexible plastic to build my first SASS microphone housing. Its walls are thinner than the 70s-yellow Samsonite case my first SASS is made from. I ended up not needing it for SASS number one. Instead of throwing it out, or using it for a file box, I set to work transforming it into a DIY SASS rig for my plug-in-power (PIP) Luhd PM-01AB stereo microphones. From what I can tell these microphones have been discontinued.
SASS stands for Stereo Ambient Sampling System, a trademarked recording rig built by Crown International in the late 80s utilizing their PZM boundary microphones. It is a quasi-binaural setup that according to the manufacturer is mono-compatible. What does this mean? A SASS rig’s stereo signal folds down to mono with no hole in the middle. Other stereo-capturing techniques, like A/B, don’t offer this. That was important in the days when recordings were often mixed down to mono for radio applications. It’s less important in 2020.
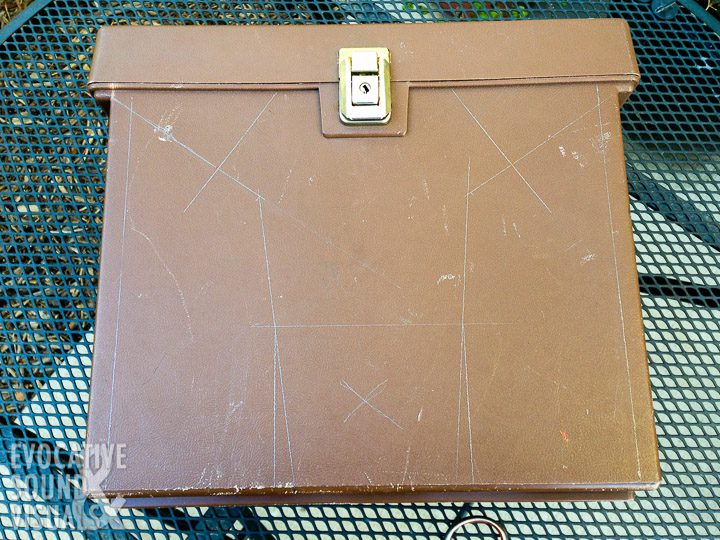
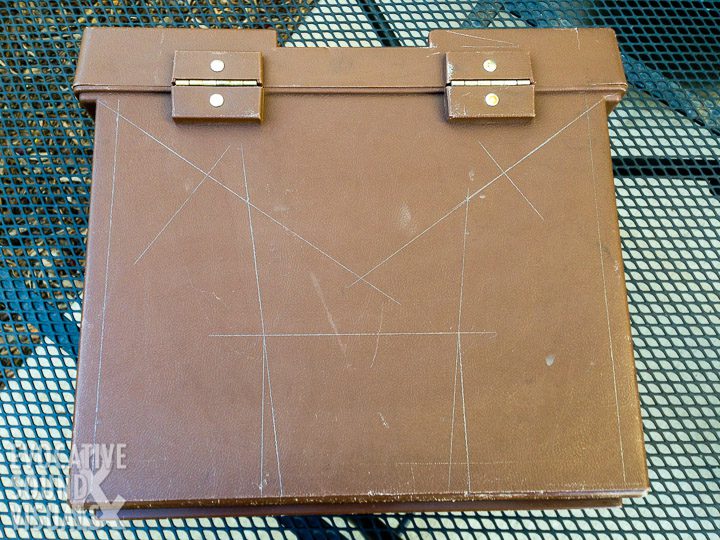
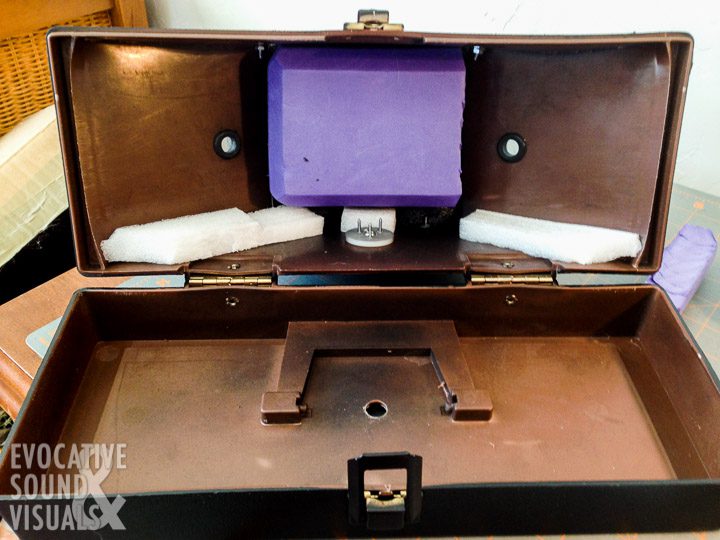
As I mentioned in my post about creating my first DIY SASS, it’s important to source a box with a shallow lid and a deep bottom. A file box like this one fits the bill. In this case, unlike my other SASS, I kept the lid. Once again I based the design on Rob Danielson’s wooden SASS design (which can be viewed on Vicki Powys website), using a protractor to find 35-degree angles for the SASS plates and 8-degree angles for the ‘nose.’
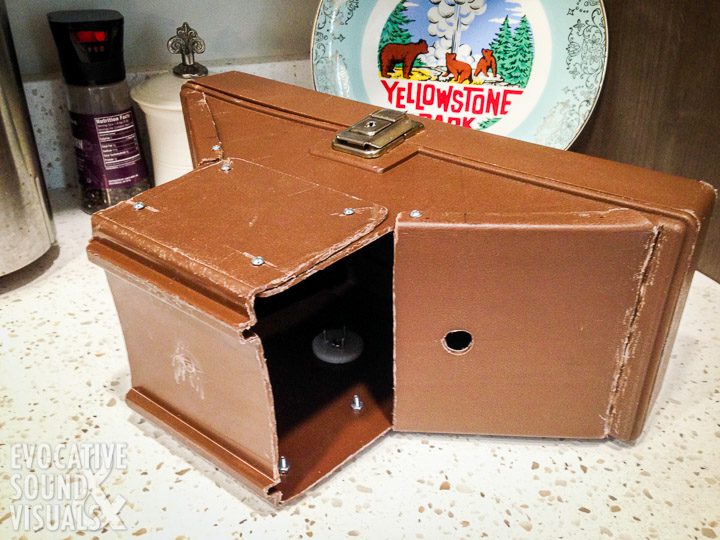
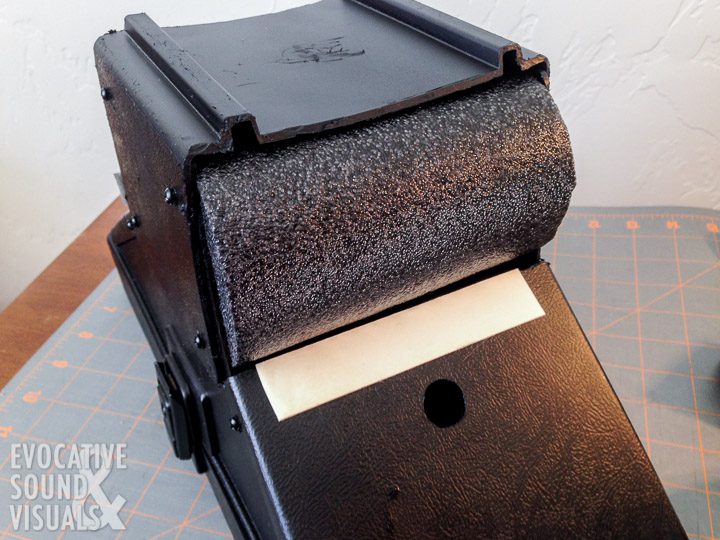
I had two epiphanies while creating this one that didn’t come to me while making the first. Since the plastic is thinner than the Samsonite case, I could create lips on the plates and fold them over the housing. To create these folds I scored the plate on the outside where the fold takes place with a Dremel tool and cutting bit. I realized also that I could use the bottom of the box for the front of the nose. Hopefully, this will become clear as you look over the photographs below. If it isn’t don’t hesitate to ask a question or write a comment below.
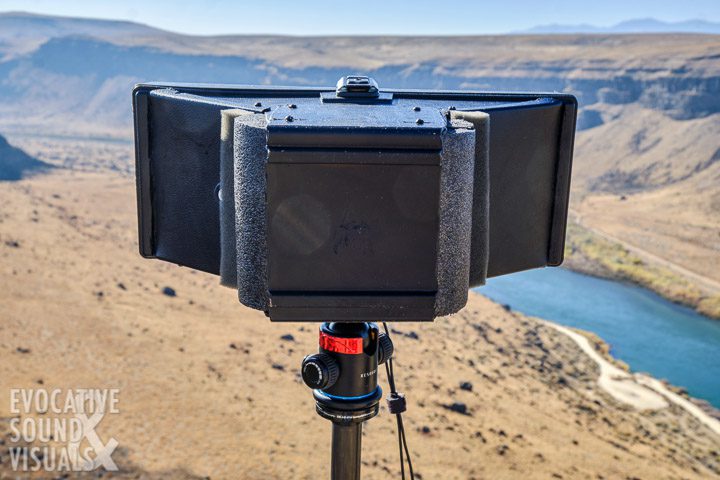
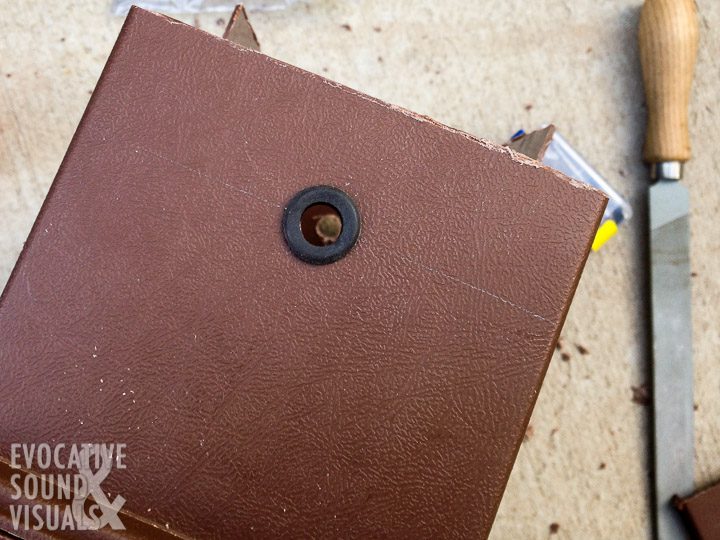
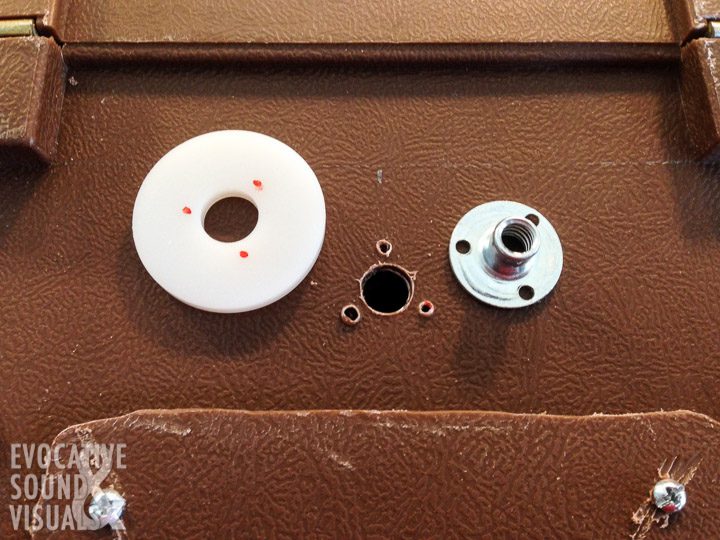
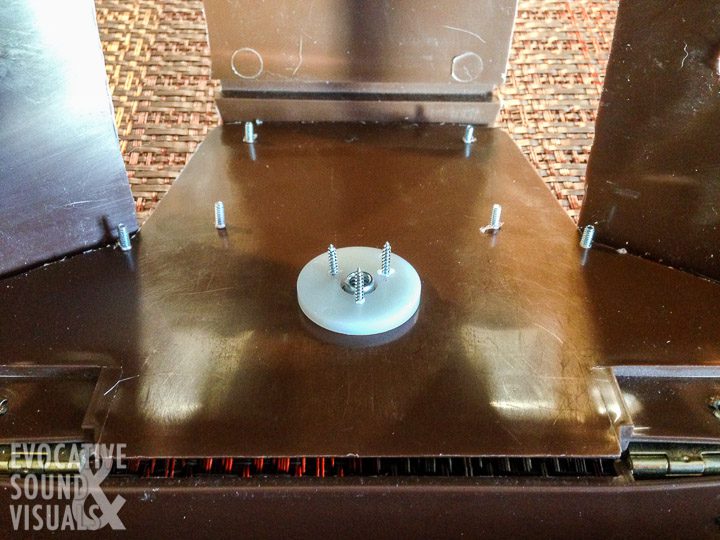
Instead of using lots of hook and loop fasteners as I did on my first SASS, I used tiny machine screws and matching nuts. Instead of PVC pipe, as I used to hold pencil omnidirectional microphones in place on SASS number one, I used rubber grommets. Their 7/16 inch inside diameter matched perfectly with the Luhd microphones. Be careful when you drill out the microphone holes. I started small and went up with my bits. Ideally, you can find one bit that matches the diameter of your microphone. Instead of a foam yoga block (given to me free from a kind lady on Nextdoor) like I used in the DIY SASS one, I used thick foam pipe insulation sourced at a thrift store for cheap. Closed-cell foam is used evenly inside the housing, secured with double-sided tape.
Build time was considerably less with this one compared to my first. I had a better idea of the design in my head before tearing at the box with the Dremel tool. A Dremel is invaluable for this type of project. Scissors just don’t cut it. Shop glasses and earplugs are a must too. There’s something about cutting into a box that really amplifies the noise. Your neighbors will love it. Take my advice and don’t buy 99-cent spray paint. It coats fine but off-gasses for days after application.
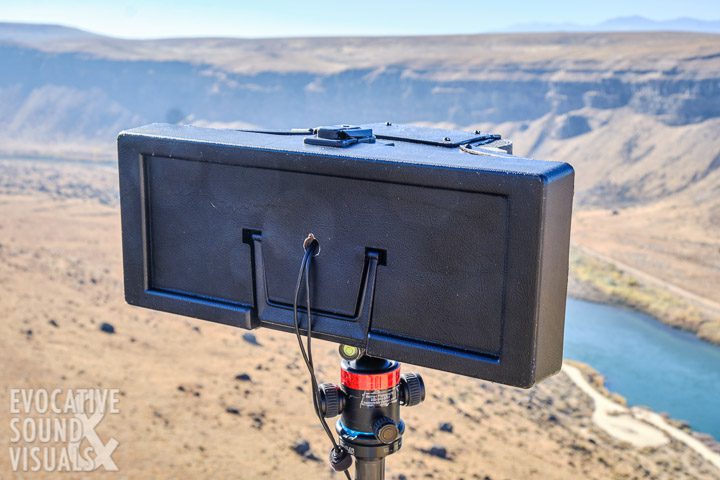
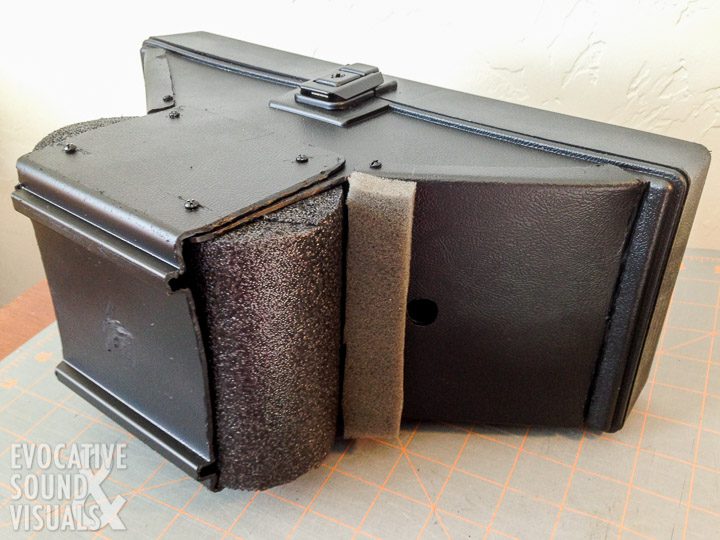
I’m finding this SASS has just as convincing a stereo image as my first SASS rig. It’s a bit smaller (approx. 13 by 8 by 5 inches) and lighter (1 pound, 8 ounces) but has the same angles and 7-inch spacing between microphones. The boundary area around the mic is 5 inches by 4 1/2 inches, smaller than SASS number one. Will this make a difference in the sound? We’ll see.
In the past, I’ve used these Luhd mics in spaced A/B and baffled omni configurations. Now I have a third option for capturing convincing stereo sound with them. I’m excited to hear how this rig will find its place in my recordings.
Step-by-step photos:


Further reading:
- Everything you wanted to know about Crown’s PZM technology and the original SASS. This is 505 pages worth reading, from newsletters starting from the PZM’s inception.
One more photo of the finished product: