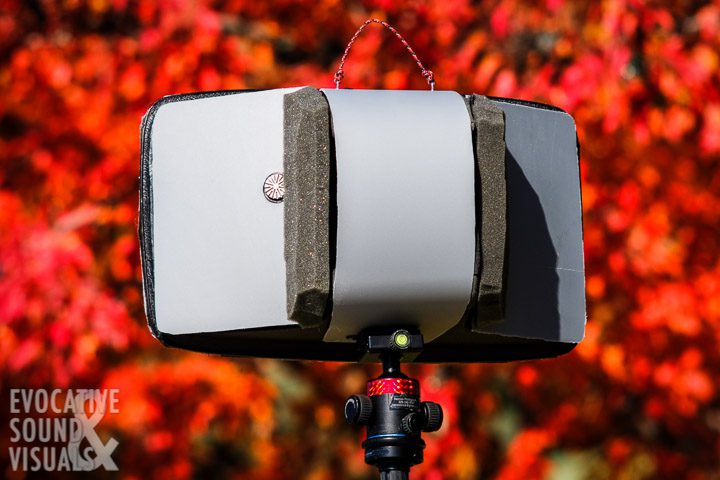
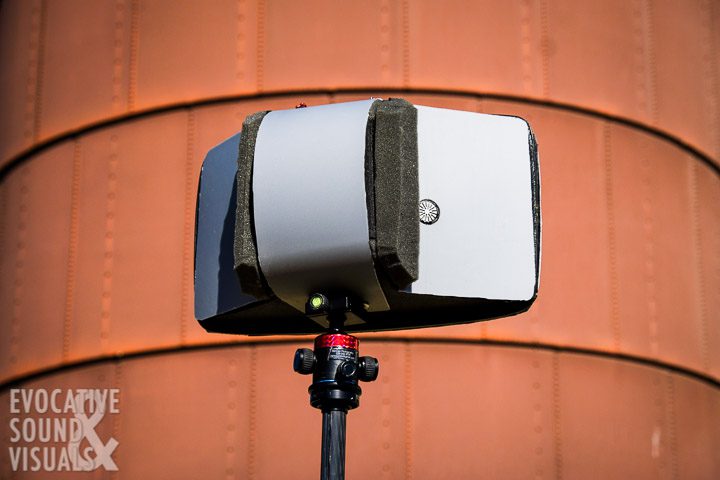
My DIY SASS Microphone Rig

How I Turned This …

A vintage Samsonite train case was purchased at a thrift store for $3.00. Photo by Richard Alan Hannon

Into This:

My DIY SASS (Stereo Ambient Sampling System) microphone rig, shown in downtown Meridian, Idaho on Sunday, October 25, 2020. To construct this baffled-omni microphone housing, I used parts from a vintage Samsonite train case, plastic from a used gray storage tote, plenty of hook-and-loop fasteners, double-sided tape and closed and open-celled foam. Photo by Richard Alan Hannon

Crown International created the long discontinued SASS (Stereo Ambient Sampling System) microphone housing in the late eighties. This strange-looking microphone housing featured the company’s relatively new PZM microphones. Boundary microphones like Crown’s PZM’s were becoming a hit with sound engineers and could be seen at the foot of theater stages, above drum kits, above church choirs and orchestra pits. Simply explained, boundary microphones, when placed against a surface, capture direct and reflected sound at the same time, thereby eliminating some of the inherent problems with placing a traditional microphone on the floor or against a wall. The larger the surface the lower the frequencies the mic can capture. A bonus of having the mic element flush with the boundary is a natural increase in gain without having to add more via your recorder. That’s less self-noise, less hiss and more volume added to the chain free of charge. Creator Michael Billingsley took this concept further. He used two PZM’s, separated by a baffle, to create a convincing stereo sound image.

I too used Crown PZM’s years ago when I helped run house sound for a local theater in north-central Ohio. They’re great for louder sounds but a bit noisy for quiet natural soundscapes. Thus nature recordists have taken to modifying existing Crown SASS rigs, which come up on the used market now and again (one sold six days ago on eBay for $615), or have taken to building their own. I, like other creators whose fine work I’ll link to at the end of this post, built my own using low-noise Audio Technica 3032 omnidirectional ‘pencil’ microphones. Instead of using wood or foam as others have, I chose plastic. Isn’t there enough plastic going into landfills? I regretfully added more this morning before sitting down to write this. So why not reuse some of this plastic for good.

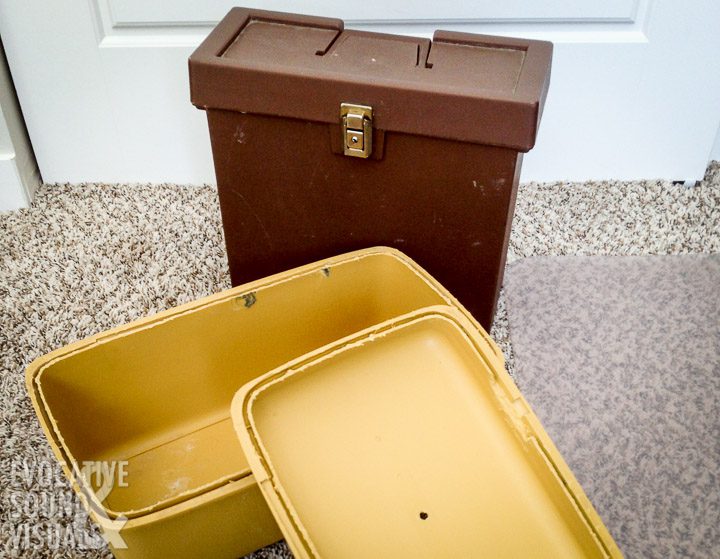
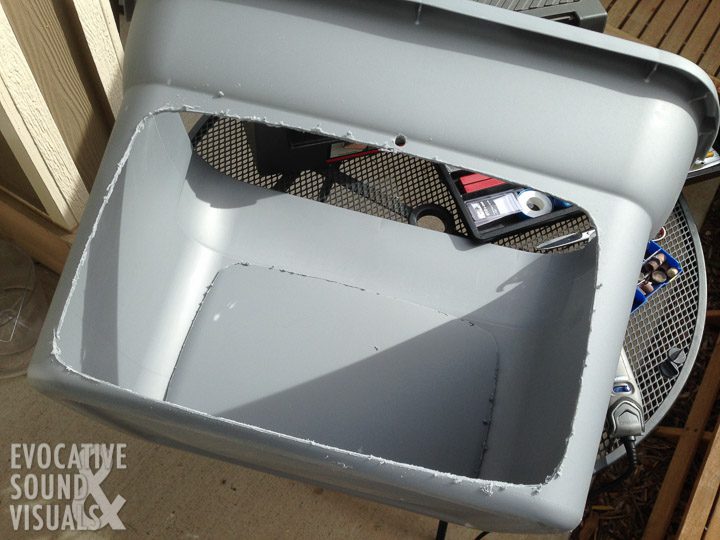
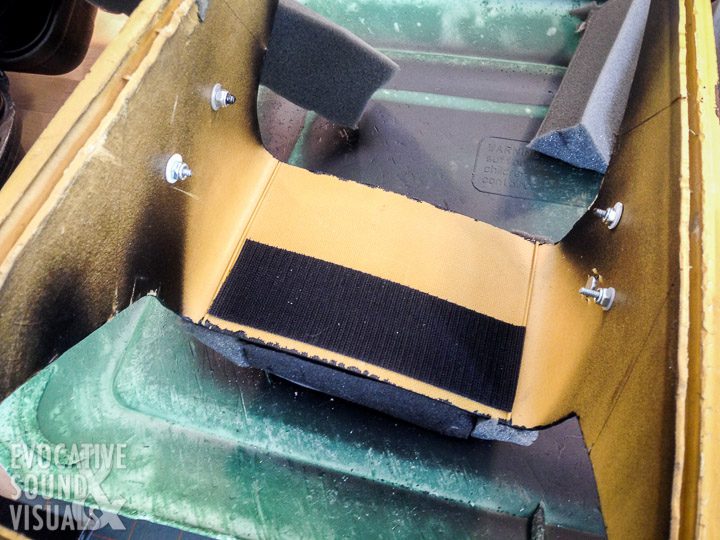
Long walks with our dog had me envisioning what it would take to make a professional-looking DIY plastic SASS housing. I settled on the following idea after stumbling upon a vintage Samsonite travel case at a thrift store for $3.00. This is the kind of small, top-handled beauty case that comes with a little compartmentalized shelf, has a mirror on the underside of its lid and smells like your grandmother’s 50-year-old perfume. By its long out of fashion mustard-yellow color, I’m thinking it’s from the late 60s or early 70s. I found a large gray storage tote at another nearby thrift store on that same trip for $1.50. I’m fortunate to have three thrift shops within five minutes of my home. They each seem to specialize in certain goods.

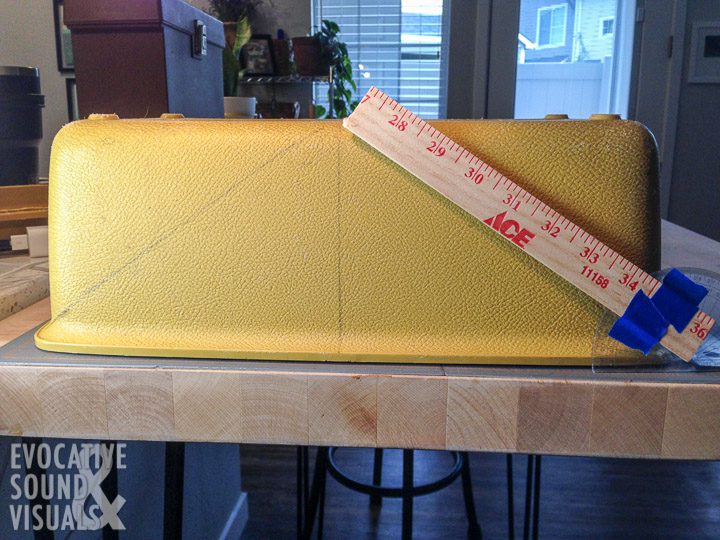
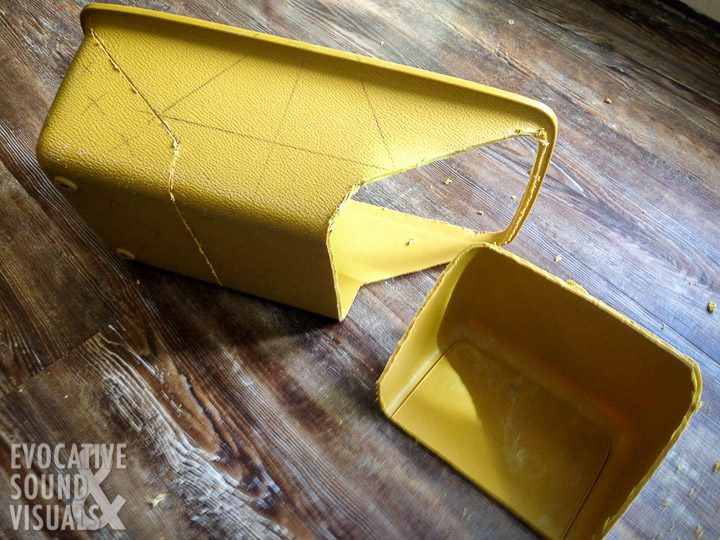
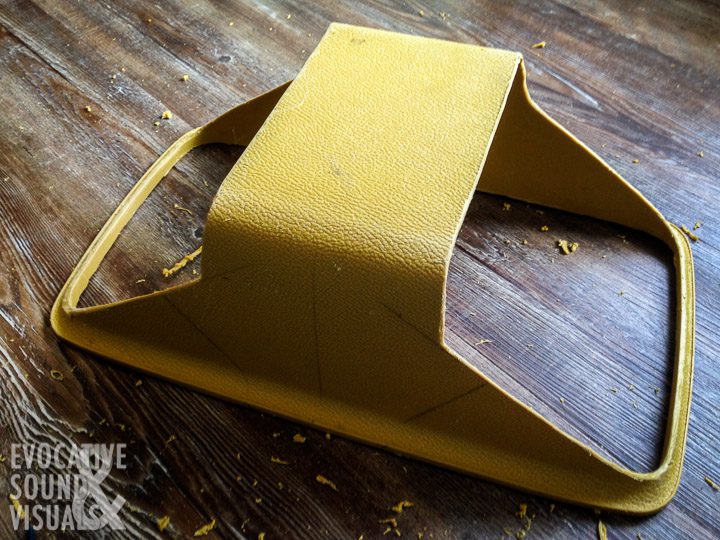
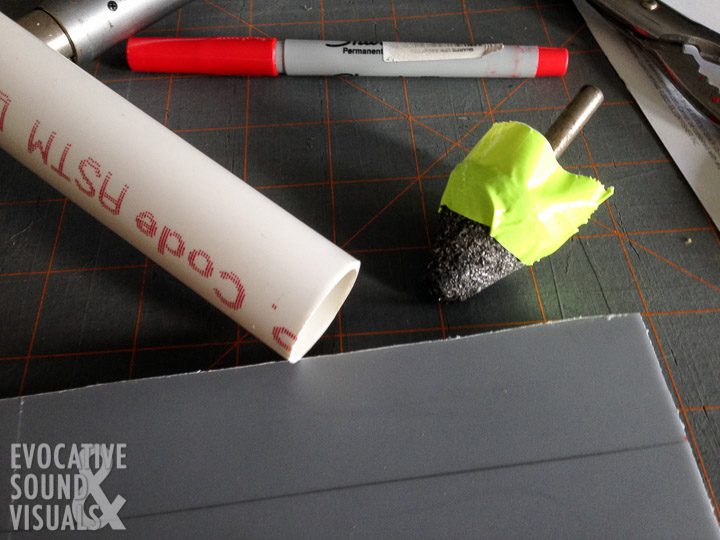
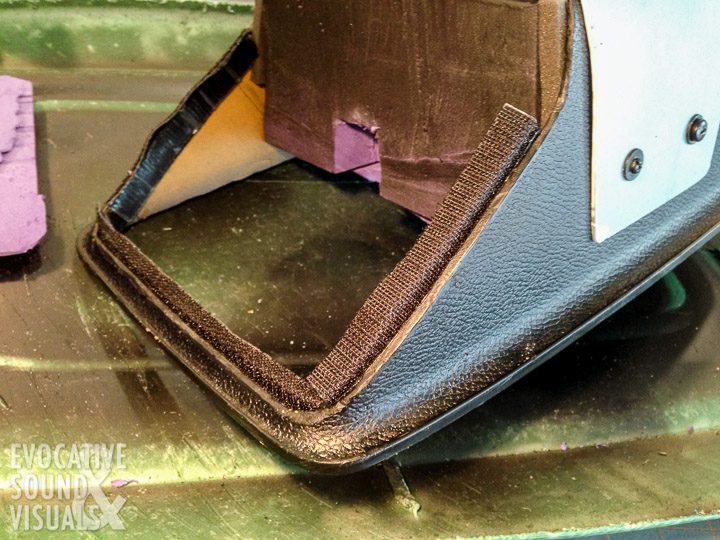
Plastic of course comes in a variety of consistencies and thicknesses. Some are pliable and bend when you want them to, some are brittle and crack if you try to bend them and some do not bend at all. The Samsonite case is the ladder. With walls one-eighth of an inch thick, it took a Dremel tool with a cutting bit to go through it. Just what I wanted to make a durable foundation for the rig.

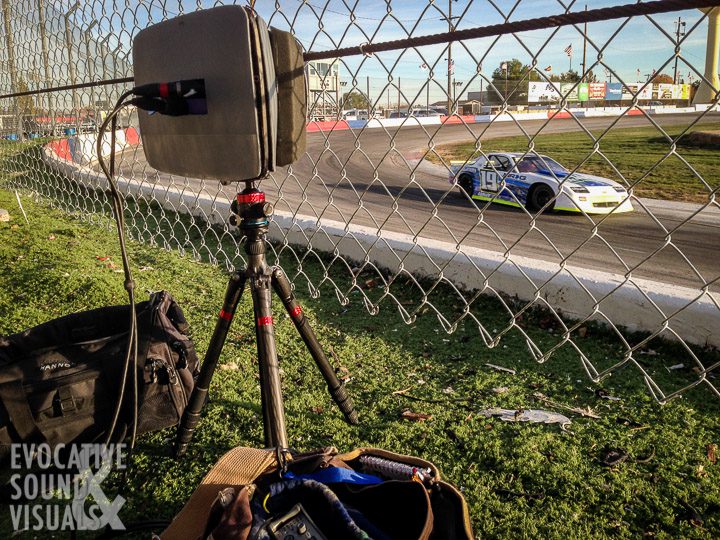
I took the rig out for its maiden recording voyage over the weekend. While walking out the front door I heard stock cars practicing at the quarter-mile oval track down the road and thought hey, how about that place? A worker who remembered me from last year’s recording visit was kind enough to let me set up right past the first turn approximately six feet from the track. The MP3 snippet below captures one practice lap of a stock car traveling solo, from left to right, around the course. You tell me if the stereo separation is adequate. The recording was normalized but no other filtration was added.

Recording the sound of stock cars practicing on the quarter-mile oval track at Meridian Speedway with a DIY SASS microphone rig on October 23, 2020. Photo by Richard Alan Hannon

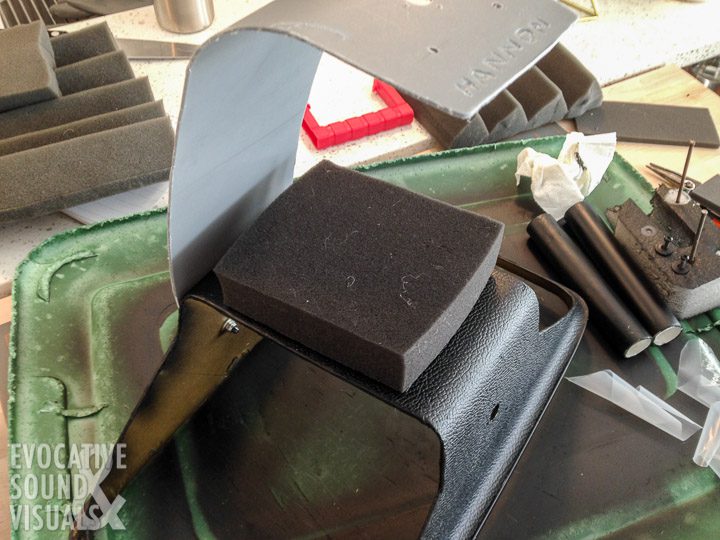
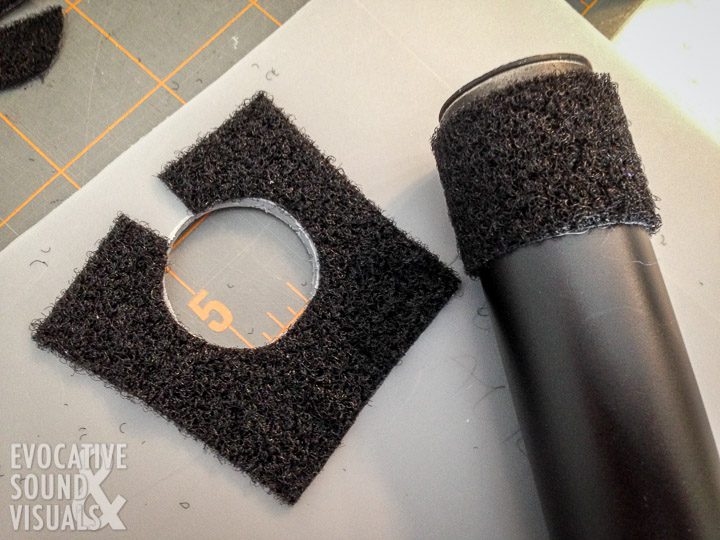
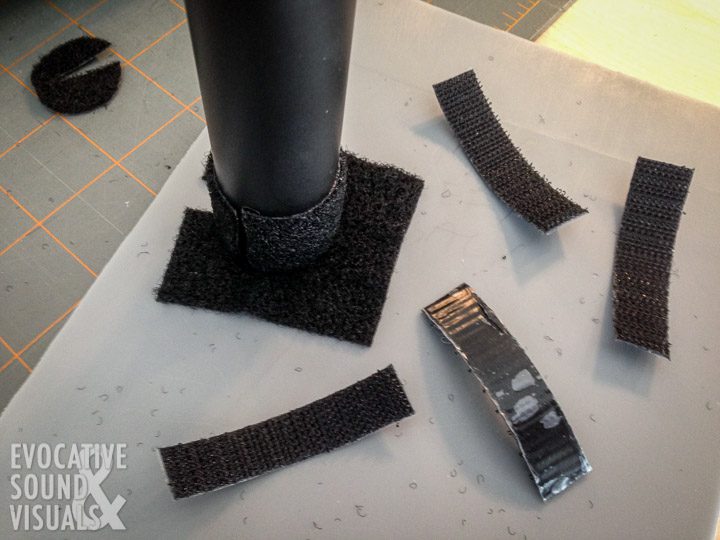
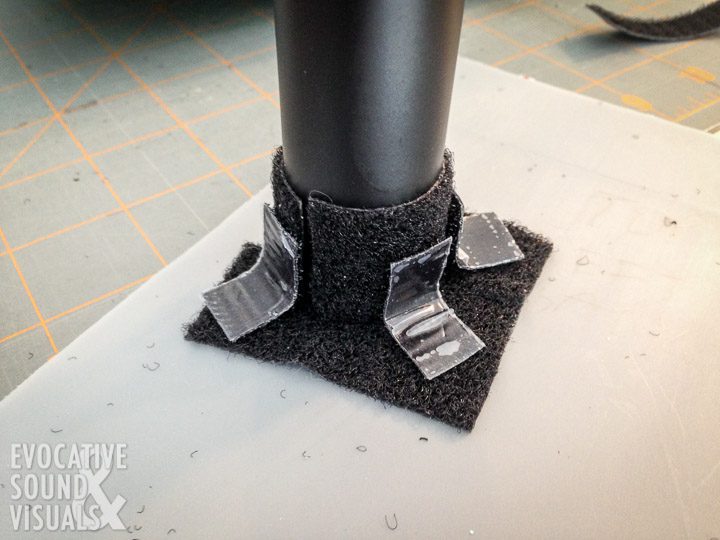
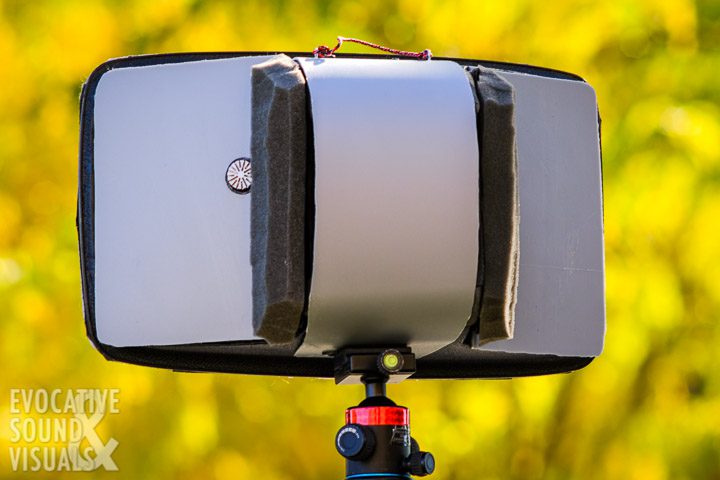
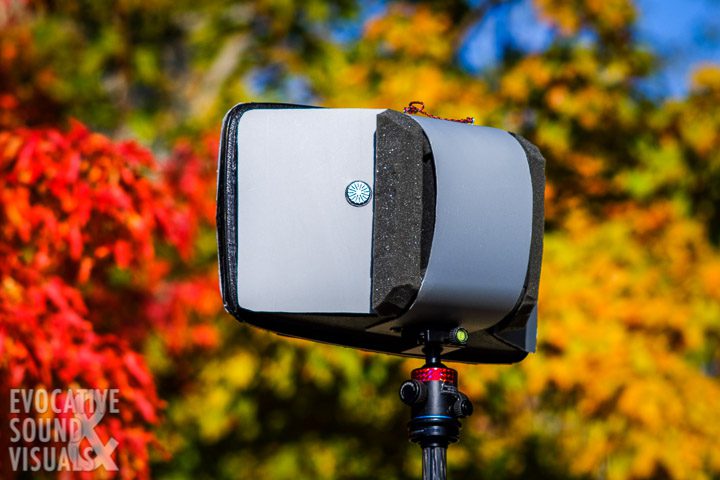
Coming in slightly larger than the original Crown Sass, my DIY rig, at 15 1/4 by 9 1/4 by 7 inches (38.7×22.9×17.8 cm), gives me slightly more surface area around the microphones. I alluded to the positives behind this concept above. It weighs approximately two pounds. I never would have thought plastic and foam and tape would weigh so much. I stayed away from using glue. Instead, I used an ample supply of hook-and-loop fastener tape. That’s Velco for the uninitiated but since I don’t know my tape’s origin I’m sticking with its generic name.

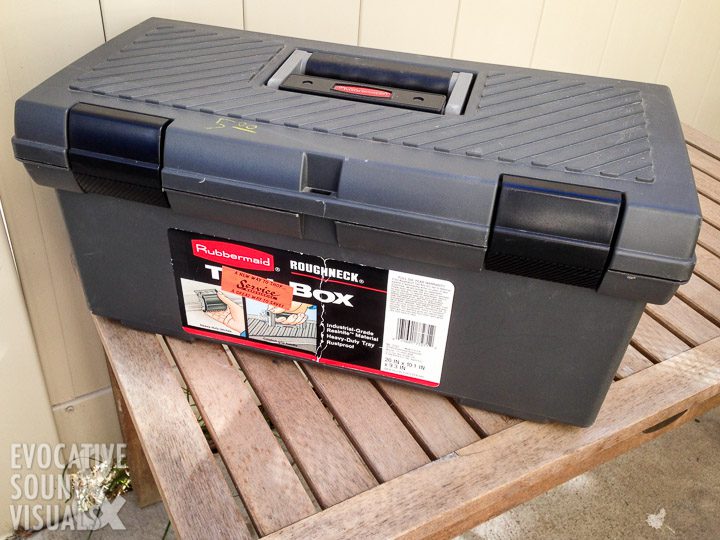
After searching for vintage Samsonite train cases on eBay, I see they’re kind of expensive. Who knew? Used inexpensive alternatives may be plastic file containers, toolboxes, or other small totes. Think rectangular boxes with shallow lids and deep bottoms. Get creative.

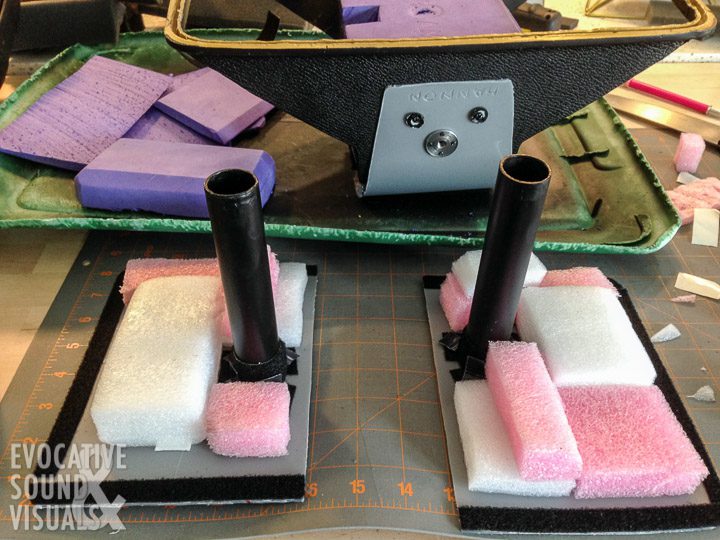
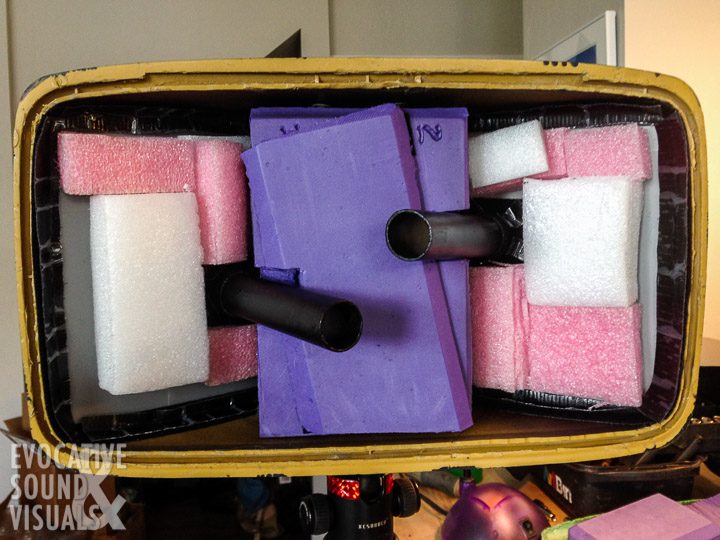
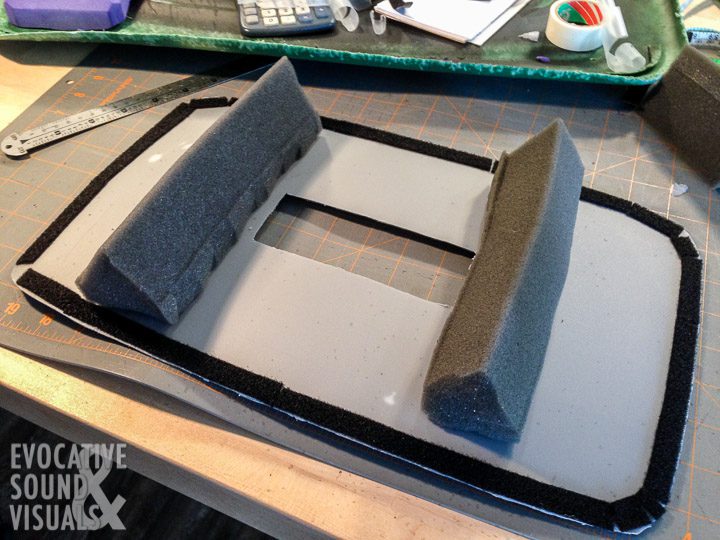
There are several ways to record in stereo with omnidirectional microphones. I have used my trusty pair of Audio Technica 3032 mics in other DIY baffled-omni arrays as well as an A/B spaced pair configuration. Each has its purpose. This DIY SASS gives me another option, the goal of which is to help reject sound from the rear that I wish to avoid. I hope you find the step-by-step (more or less) photos of the building process useful. If you have any questions or comments please let me know below.

The majority of my design ideas, including microphone spacing, angles and so forth, came from Rob Danielson. Here is his version 2 design from 2010:

A vintage Samsonite train case without its lid. I originally considered using the lid but found it to be unnecessary and added weight. A yardstick, or what's left of one, is taped to a protractor, bottom right, at a 35-degree angle. Photo by Richard Alan Hannon
A vintage Samsonite train case without its lid. I originally considered using the lid but found it to be unnecessary and added weight. A yardstick, or what’s left of one, is taped to a protractor, bottom right, at a 35-degree angle. Photo by Richard Alan Hannon
Markings in pencil are better than markings in permanent ink. Photo by Richard Alan Hannon

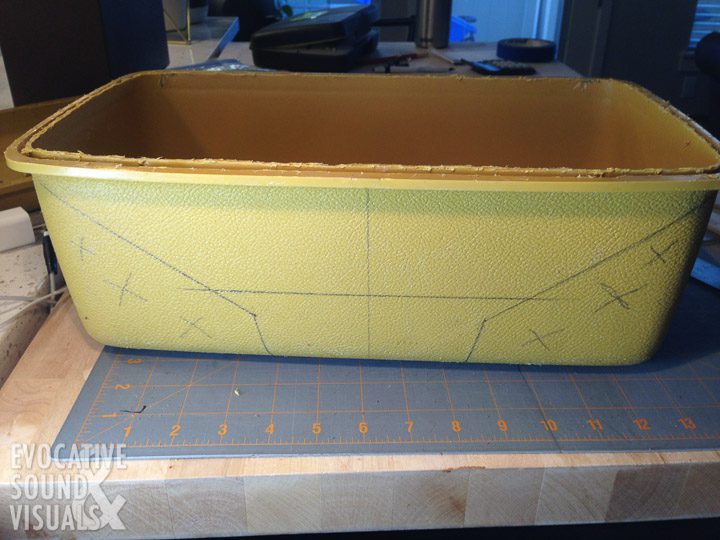
This is a good time to mention that this is a really messy and loud process.. The Dremel cutting into an open box creates a lot of noise, and plastic chips fly everywhere. Please wear proper ear and eye protection if you go this route.

The train case after being cut with a Dremel bit. Photo by Richard Alan Hannon
My DIY SASS is taking shape. Photo by Richard Alan Hannon
In order to properly trace onto the tote for the back of the SASS, what is left of the train case is taped into place. Photo by Richard Alan Hannon
The thrift store tote is being repurposed. Photo by Richard Alan Hannon
In order to create the correct diameter hole for the microphone plate, I used a sanding-type drill bit, taped at the point where I wanted the bit to stop. The pipe has a 3/4-inch outside diameter. I took a mic into Lowe's for measurements. Photo by Richard Alan Hannon
In order to create the correct diameter hole for the microphone plate, I used a sanding-type drill bit, taped at the point where I wanted the bit to stop. The pipe has a 3/4-inch outside diameter. I took a mic into Lowe’s for measurements. Photo by Richard Alan Hannon
After spray painting the cut-up train case black, acoustic foam is placed with hook-and-loop fastener to the 'nose' of the SASS. This is where more of the tote comes in. I bent it over the 'nose' foam and secured it with machine screws, plastic washers and lock nuts I had laying around from a previous photo project. Photo by Richard Alan Hannon
After spray painting the cut-up train case black, acoustic foam is placed with hook-and-loop fastener to the ‘nose’ of the SASS. This is where more of the tote comes in. I bent it over the ‘nose’ foam and secured it with machine screws, plastic washers and lock nuts I had laying around from a previous photo project. Photo by Richard Alan Hannon
A Hook-and-loop fastener is used throughout the project. Glue could have worked as well but it's messy and takes time to set up. Photo by Richard Alan Hannon
A Hook-and-loop fastener is used throughout the project. Glue could have worked as well but it’s messy and takes time to set up. Photo by Richard Alan Hannon
The beginnings of a hook-and-loop fastener flange to secure the PVC pipe to the microphone plate. Photo by Richard Alan Hannon
The making of a hook-and-loop fastener flange. Photo by Richard Alan Hannon
The completed hook-and-loop fastener flange. Photo by Richard Alan Hannon
The backside of the microphone plates. Here you can see the bottom of the rig where I used an inset female 1/4-20 thread scrapped from an old camera motor drive. A t-nut would do also. Photo by Richard Alan Hannon
A Hook-and-loop fastener, bent at a 90-degree angle, is used to secure the microphone plates to the housing. Photo by Richard Alan Hannon
Closed-celled foam and a cut-up yoga block are affixed to the inside using double-stick tape. The yoga block also serves as a shelf to hold the PVC pipe in place. Photo by Richard Alan Hannon
Acoustic foam and a thin border of the hook-and-loop fastener are applied to the rear of the DIY SASS back. Photo by Richard Alan Hannon
In order to secure the mics in the PVC pipes, I used a thumbscrew that goes into one side of the pipe. I used a 1/4-20 screw as a drill bit to create a threaded hole. Photo by Richard Alan Hannon

A few more photos of the finished product (just because I’m happy with the results):

Further reading:

  • Australian nature sound recordist Vicki Poyws has a great explanation on how to make a DIY SASS on her website. She made her ‘SASS-lite’ out of closed-cell foam.
  • Tom Benedict created a beautiful wooden DIY ‘Pseudo SASS array in 2015. You can see how he did it here.
  • See the specs for the original Crown SASS here.
Comments are closed.